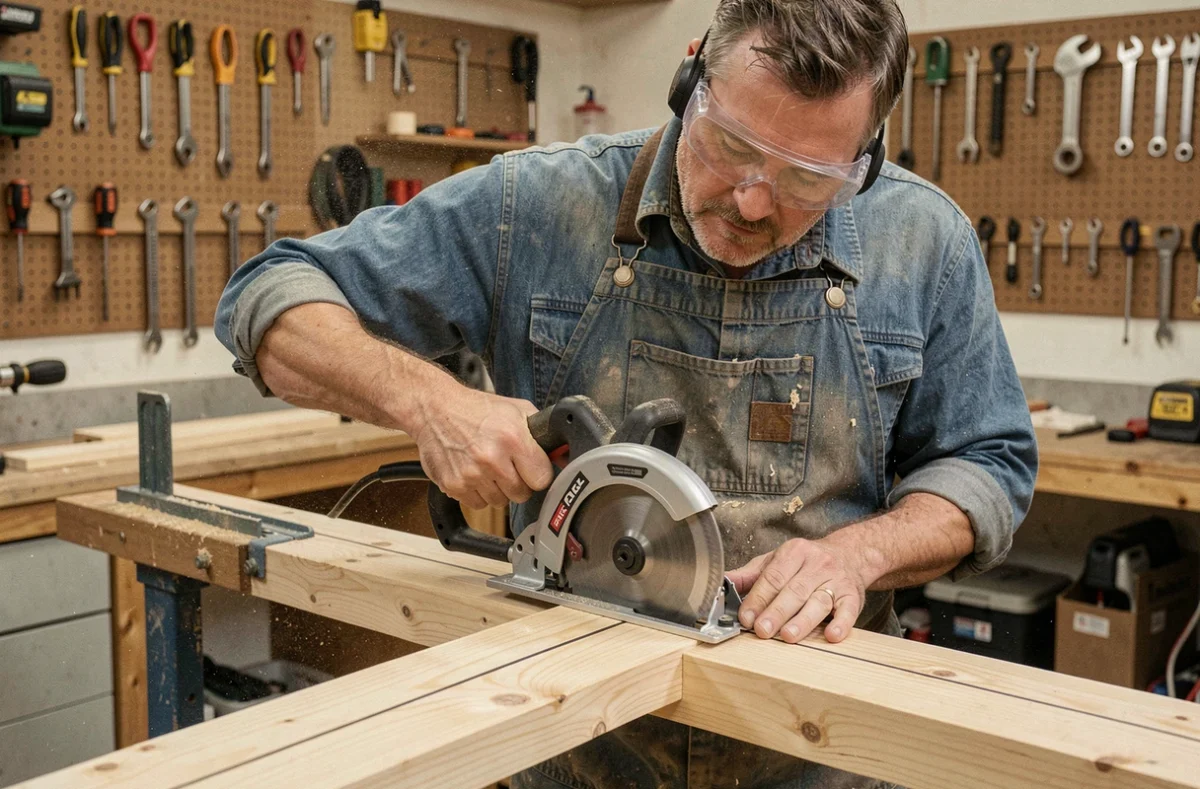
On a construction site or in a workshop, a cut that deviates by a few millimeters does not forgive: misaligned assembly, visible joint, piece to redo. The portable circular saw remains the most used tool for cutting wood, but achieving a perfectly straight line requires more than a steady hand. The machine’s adjustment, the support of the piece, and the choice of guidance determine the quality of the result long before the blade touches the material.
Blade pinching and kickback: the problem that guidance alone does not solve
We often talk about rails and parallel guides, rarely about what actually causes a twisted cut. Blade pinching is the primary culprit. When the panel’s fall sags under its own weight, the saw line closes around the blade. The saw deviates abruptly, sometimes with a violent kickback.
Supporting the piece on both sides of the cut line changes everything. We place two trestles under the main part and a third under the fall, or we use rigid foam panels across the entire surface. The wood no longer bends, the line remains open, and the blade advances without lateral constraint.
The blade depth also plays a direct role. A blade set too low exposes a large number of teeth beneath the piece. In case of a blockage, the energy transmitted to the wood (and to the user) is greater. We adjust the depth so that the teeth protrude a few millimeters below the underside of the material, no more. Applying this method for cutting straight with a circular saw reduces both the risk of deviation and the danger of kickback.
Guide rail for circular saw: homemade or commercial rail
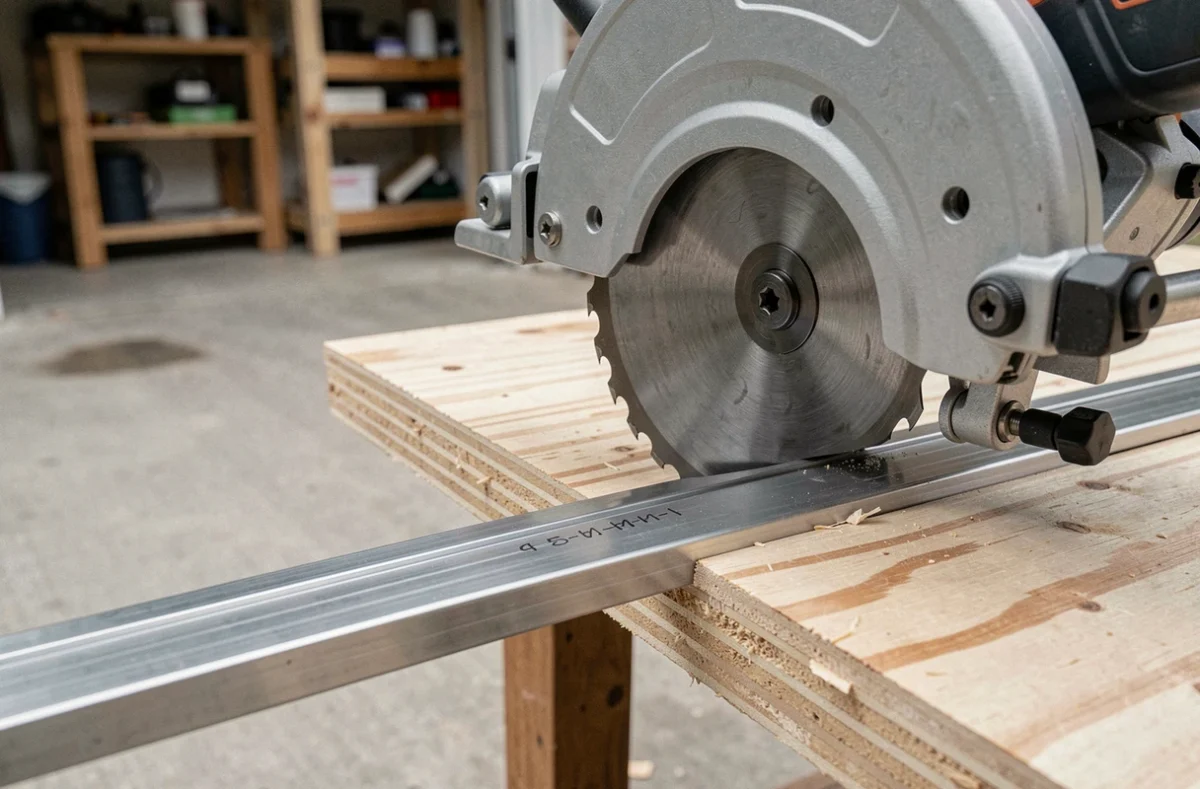
An improvised guide (mason’s rule tightened with clamps) can help, but it easily slips if the lateral pressure varies. Commercial rails, compatible with certain brands, incorporate a non-slip strip and a calibrated edge. The saw slides in a groove, which almost eliminates any lateral play.
You can also make an effective homemade rail. The principle relies on two strips of plywood or MDF glued together:
- A wide strip (about the sole of the saw plus a margin) serves as a base and is fixed to the piece to be cut with clamps
- A narrower strip, glued on top, forms the guide against which the sole will butt during the entire cut
- The first pass of the saw along the guide trims the edge of the wide strip, creating an exact reference for the cut line for all subsequent work
The homemade rail works well on raw plywood or solid boards. On coated panels (melamine, laminate), the limitation appears quickly: the chips on the visible face depend as much on the blade as on the guidance.
Keeping the saw pressed against the rail
A rail, even a good one, is useless if the sole drifts away during the cut. You apply constant lateral pressure towards the guide with your left hand (for a right-handed person), while your right hand pushes the saw forward. The classic mistake is to push hard forward without maintaining lateral contact. Slowing down the feed and focusing on keeping the saw pressed gives a more consistent line than a quick cut.
Limits of the portable circular saw on coated panels
A white melamine cut with a standard blade leaves a line of chips on the upper face. The coating, hard and brittle, lifts under the attack of the teeth. Even with a perfectly aligned rail, the result remains mediocre if the blade is not suitable.
A fine-toothed blade designed for laminates significantly reduces chipping. These blades have a high number of teeth and a sharpening geometry (often trapezoidal-flat) that shears the coating instead of tearing it. Some references from Festool or other manufacturers are specifically designed for formatting coated panels.
When the finish must be impeccable (kitchen countertop, furniture facade), a plunge saw with an integrated rail offers a result that a standard circular saw cannot match. Controlled plunge, anti-chip integrated into the rail, and the appropriate blade work together. It is an investment, but on this type of panel, the difference is visible to the naked eye.
Settings and posture for cutting straight with a circular saw
Before each cut, we check three points that take less than a minute:
- Blade depth: the teeth just protrude below the material, limiting exposure and the risk of pinching
- Sole well flat: we check that no chips stuck under the sole tilt the saw, especially after several cuts in softwood
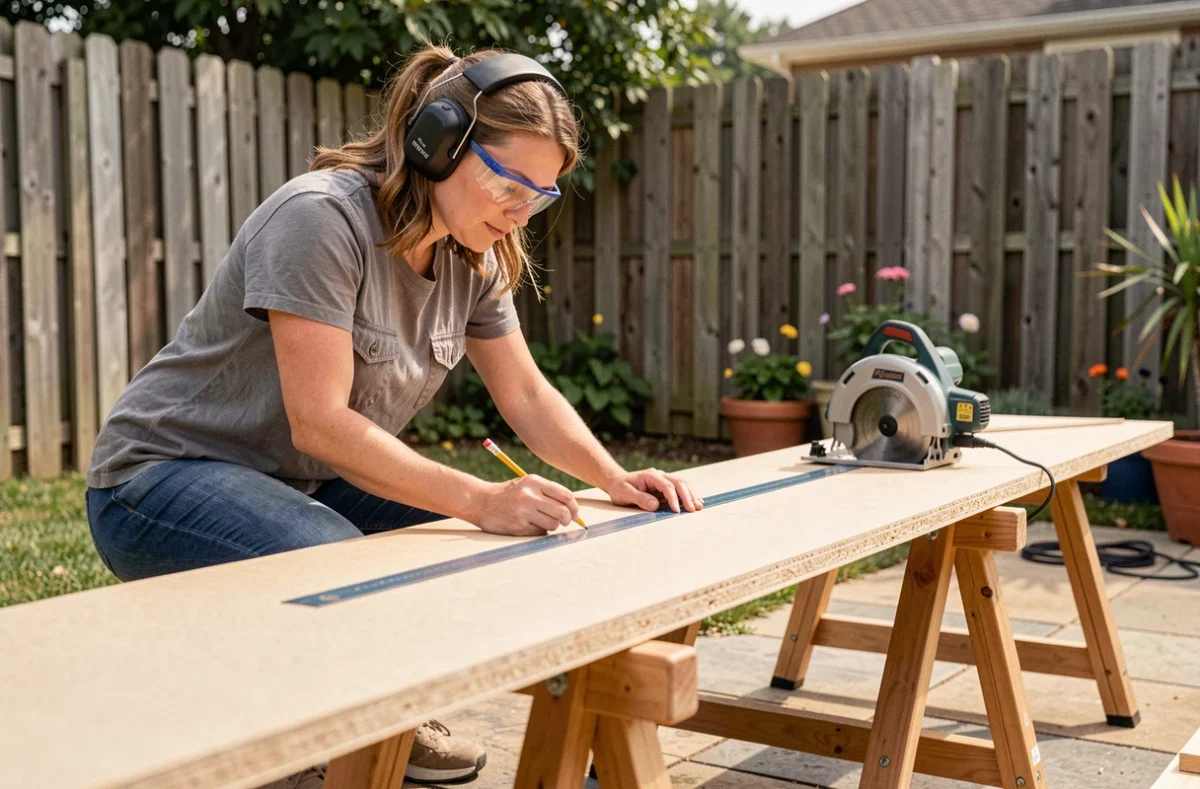
- Visible reference line: we mark the line with a carpenter’s pencil and align the engraved mark on the sole (or the laser guide if the saw is equipped) with this line
Posture is as important as the tool. You position yourself slightly offset from the cut line, never directly behind the saw. Feet are apart, body weight stable. You push the saw at a steady speed, without forcing. Any sudden acceleration creates lateral deviation.
Dust extraction and visibility
Wood dust accumulates on the cut line and obscures the reference a few centimeters ahead. Connecting a vacuum to the saw’s nozzle or regularly blowing away the sawdust improves precision as much as any guiding accessory. On softwoods, the amount of sawdust produced makes the line invisible very quickly without extraction.
Cutting straight with a circular saw relies on a sequence of details: stable support, adjusted blade depth, maintained guidance, blade suitable for the material. When working with raw plywood or beams, a good rail (homemade or commercial) is more than sufficient. On melamine or laminate, the blade and type of saw make the difference. Accepting this limitation prevents wasting panels and directs towards the right tool at the right time.