
A removable partition without drilling relies on a principle of support through pressure between the floor and the ceiling, or on a weighted self-supporting system. No screws, no plugs: the structure holds thanks to adjustable jacks, non-slip pads, or its own weight.
This type of separation is suitable for tenants, co-owners subject to work restrictions, and older buildings where drilling risks damaging fragile elements. Five steps are enough to successfully complete the installation, provided a specific order is followed.
To choose a system suitable for your configuration, the detailed resources on the Archi Line removable partition without drilling allow you to compare the available options based on ceiling height and floor type.
1. Diagnose the floor, ceiling, and building constraints
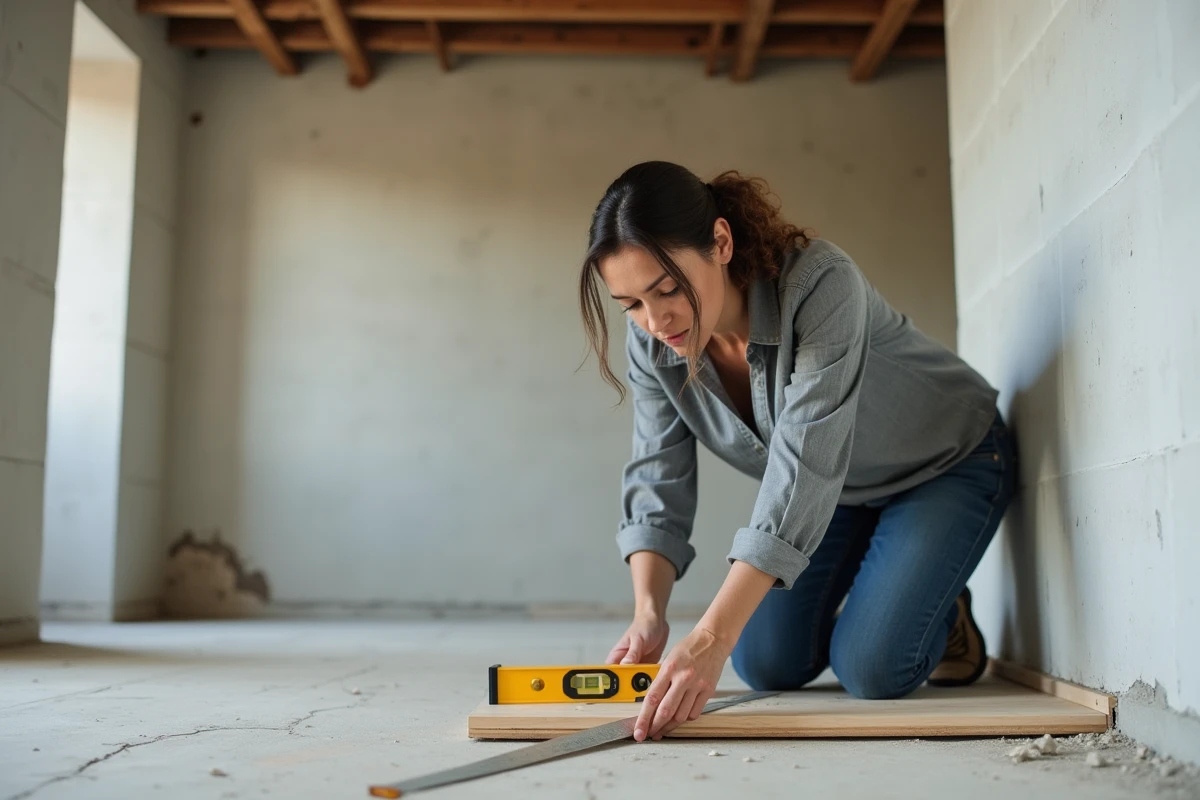
Before ordering anything, the first step is to assess the solidity of the contact surfaces. A perfectly flat floor and a rigid ceiling facilitate installation. Irregular tiling or a warped floating floor alters the distribution of pressure exerted by the jacks.
The ceiling deserves special attention. In an old building, cracked staff ceilings are common. Staff is a mixture of plaster and plant fibers molded into thin sheets, often fixed to aging wooden laths. Applying direct vertical pressure on this type of surface can worsen existing cracks or even cause the sheet to detach.
The solution is to interpose a distribution board between the jack and the ceiling. A plywood board at least the width of the partition distributes the load over a larger area and reduces point pressure. In the most degraded cases, it is better to opt for a weighted self-supporting system that does not rely on the ceiling.
- Check the flatness of the floor with a level over the entire planned length of the partition
- Identify visible cracks in the ceiling and test the solidity of the staff by lightly tapping
- Locate embedded pipes and electrical conduits to avoid any positioning conflicts
2. Choose the type of partition suitable for the space and use
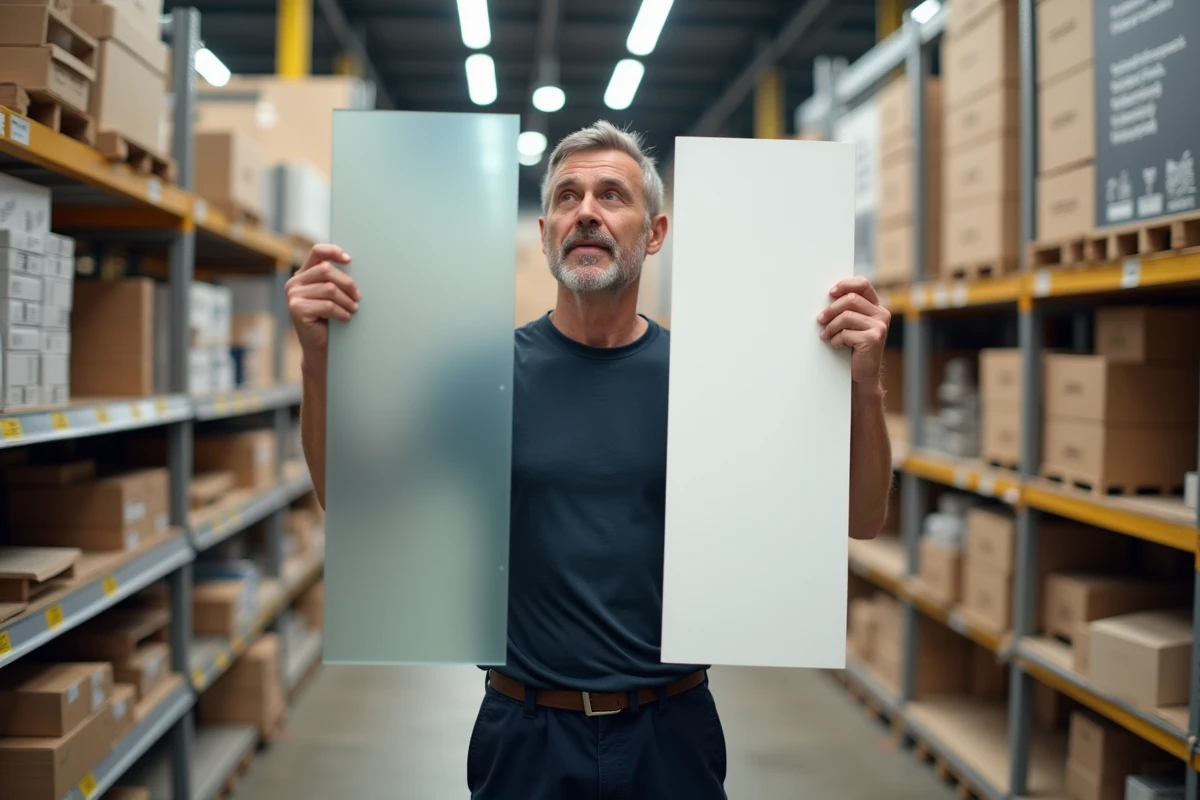
The choice of material and format depends on the desired function. A visual separation between a living room and an entrance does not require the same performance as a partition intended to create a bedroom with a minimum of sound insulation.
Self-supporting panels with floor-to-ceiling jacks offer the best stability. They are suitable for permanent separations in a rental property. Wooden or composite bamboo screens provide a light delimitation while allowing light to pass through, but their acoustic insulation remains almost negligible.
Removable glass partitions on rails represent an interesting compromise: they separate the space without cutting off light, and their metal structure tolerates the pressure from the jacks well. For humid rooms, composite bamboo partitions resist moisture better than solid wood or raw MDF models.
3. Take measurements and prepare the installation area
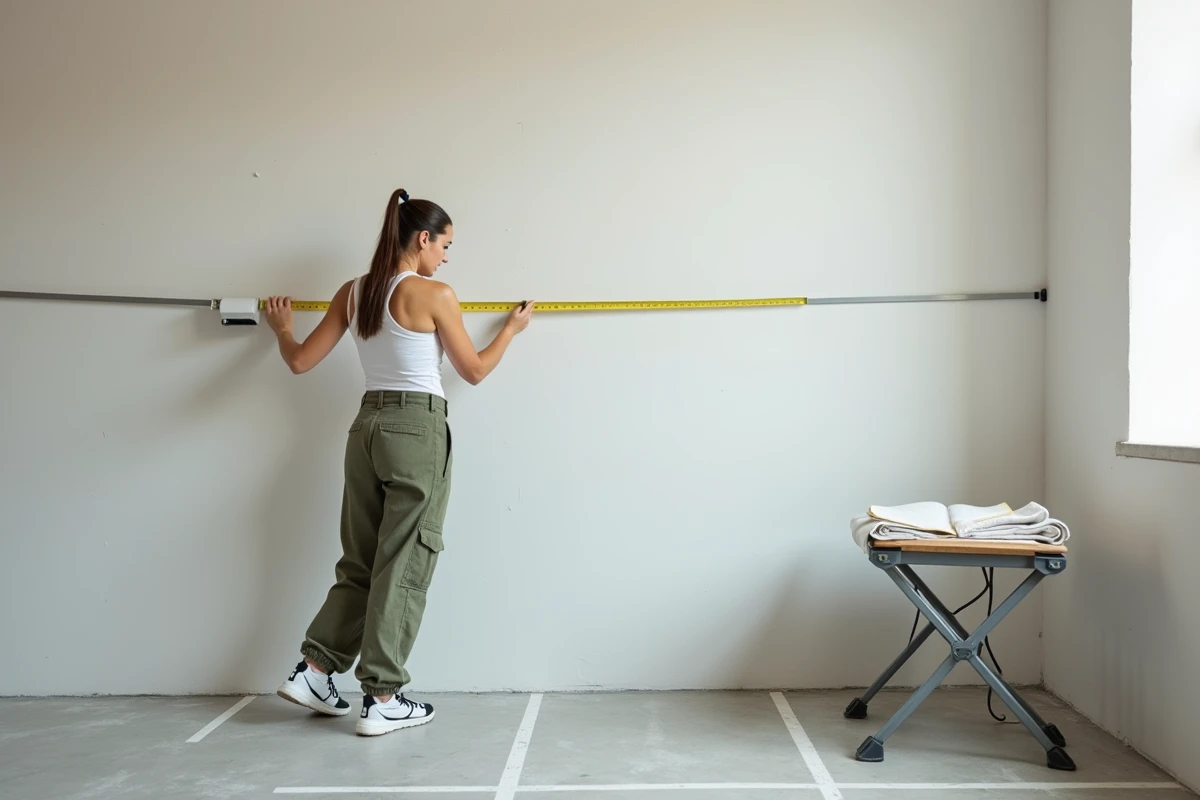
The accuracy of the measurements determines the stability of the whole. Three measurements are necessary: the ceiling height (to be taken at least at three points, as it often varies by a few millimeters in an old building), the width of the area to be partitioned, and the depth available on the floor.
Measuring the height at three distinct points helps detect any lack of plumb. A difference of more than one centimeter between the highest and lowest point requires the use of long-stroke jacks or shimming the base of the partition.
Clear the area of any furniture or objects. Clean the floor to ensure the pads adhere properly. If the covering is a floating floor, place a protective pad under the feet of the partition to avoid crushing marks.
4. Assemble and position the partition without wall fixation
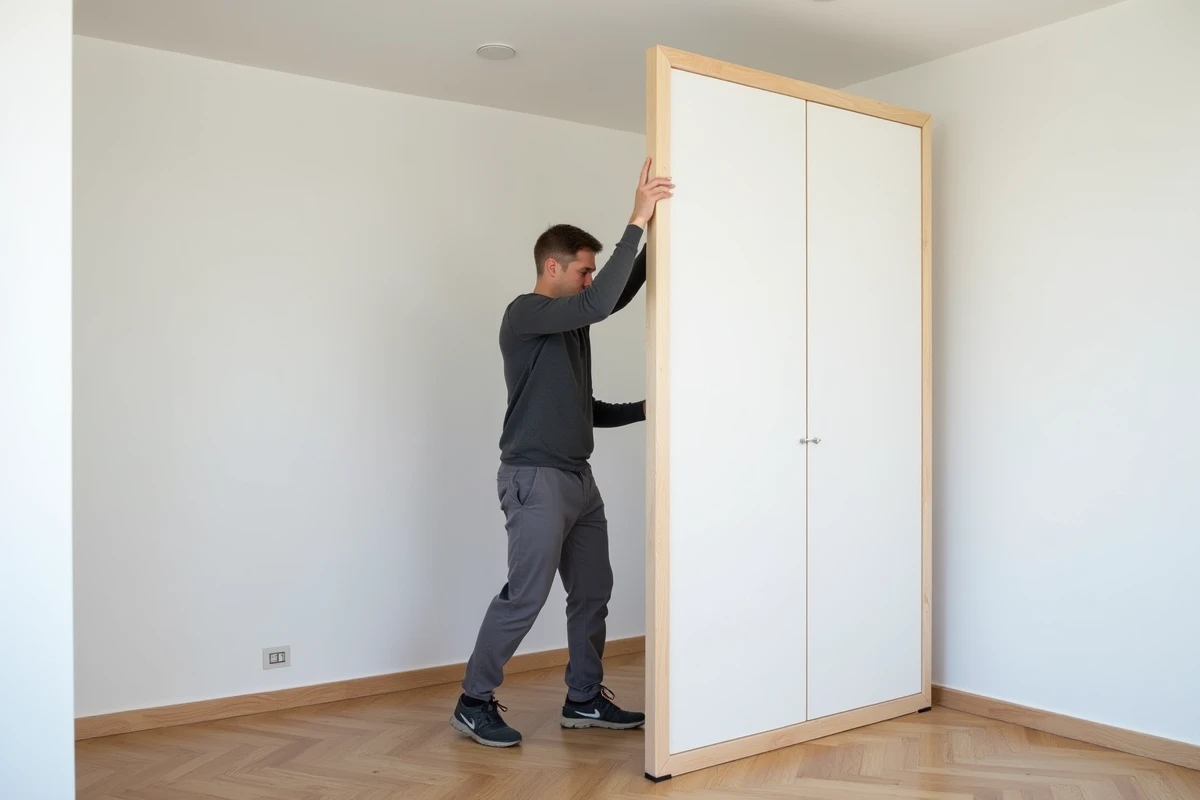
The assembly is done flat if the panels are delivered in a kit. Connect the elements together according to the instructions, then raise the structure to a vertical position with the help of a second person. Handling a panel over two meters high alone poses a risk of tipping and damaging the ceiling.
Position the partition at the exact location marked in the previous step. The jacks are adjusted gradually, alternating between the top and bottom to maintain even pressure. Tightening one jack fully before the others creates a stress point that can deform the panel or mark the ceiling.
For self-supporting systems without jacks, weighting is done with widened feet filled with sand or gravel. The partition must remain vertical without intervention: if it tilts, the floor is not flat enough or the weight is insufficient.
5. Check stability and adjust jacks over time
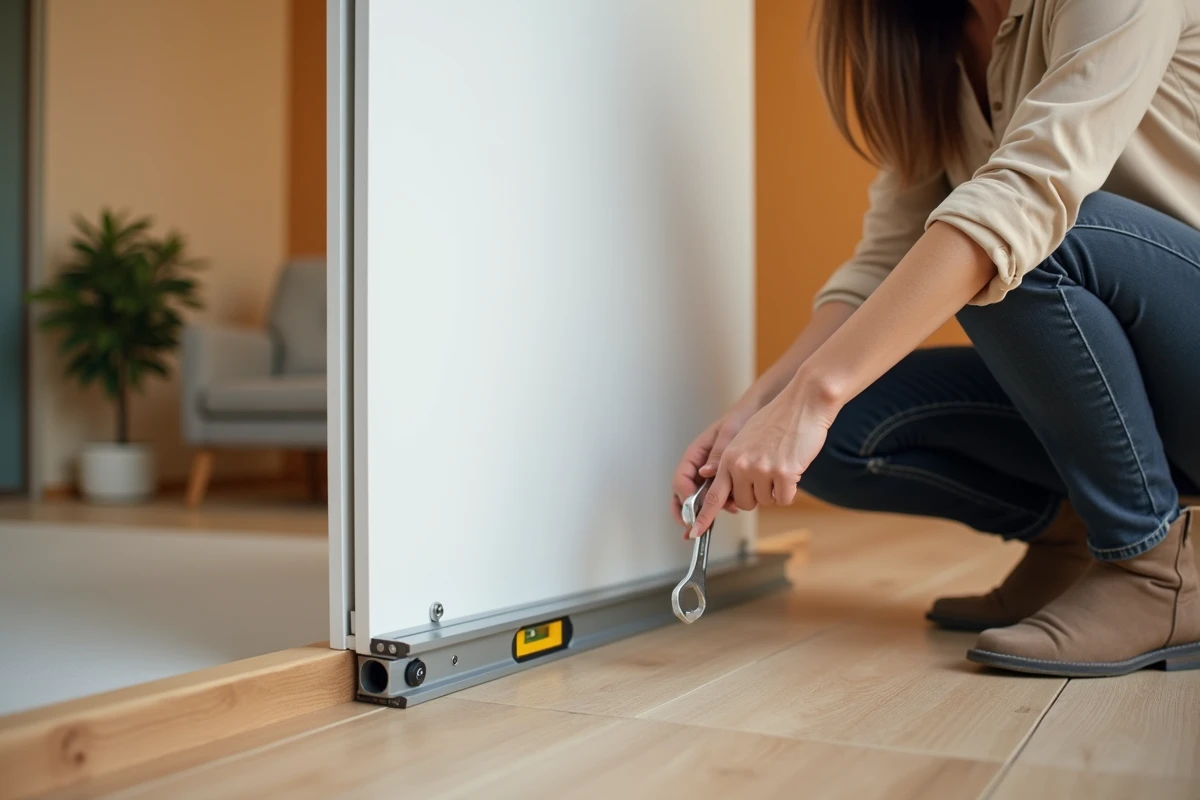
Once the partition is in place, check the plumb with a level on both sides. Test the resistance by applying moderate lateral pressure at mid-height: the structure should not wobble.
The pressure jacks gradually lose their tension, especially on uneven tiled floors. Feedback indicates a decrease in stability after about eighteen months of intensive use. A semi-annual check of the jack tightness prevents a partition from detaching from the ceiling.
- Retighten the jacks every six months, more often if the partition is subjected to vibrations (slammed doors, frequent passage)
- Check the condition of the non-slip pads and replace them as soon as they flatten
- On a staff ceiling, inspect the contact area for any new cracks
The last point to keep in mind is reversibility. A well-installed removable partition can be disassembled in less than an hour and leaves no trace, provided the jacks have not been overloaded. Keeping the shims, pads, and distribution boards facilitates later reassembly in a different configuration.